
In the last post, we covered setting up an AzDO organization and project that is going to support us in achieving the end goal of building a fully functional AzDO pipeline that will handle SQL Patching for an AG.
Next up: Creating a GitHub repository and connecting it to our AzDO environment so we can leverage Source Control and maintain the ability to have a consistent location for our pipeline to call our scripts. Let’s dive right in!
Setting Up Your GitHub Repo
I’m going to walk you step-by-step setting up your GitHub repository. Don’t worry, it’s not as scary as it sounds if you are not familiar with functioning in GitHub.
Step 1: Sign In To GitHub
You can sign in to GitHub if you already have an account or create a GitHub account. It’s completely free.
Step 2: Navigate To Repositories Tab
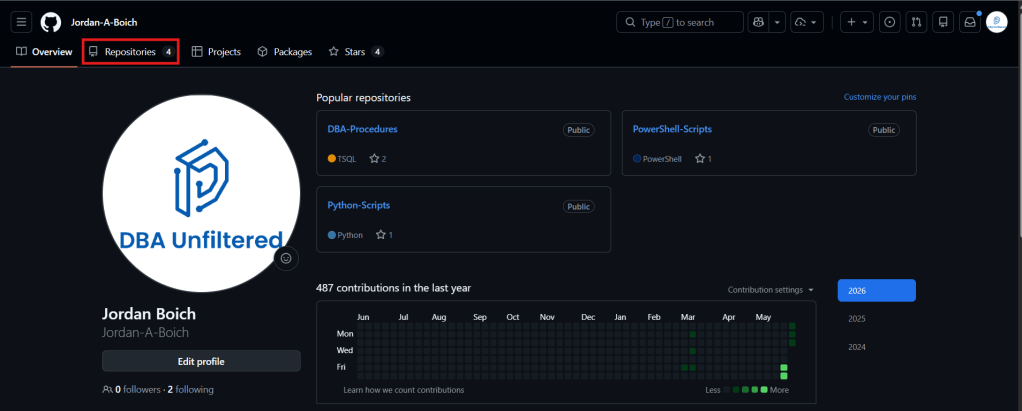
Once you’re signed in, or have created an account, navigate to the Repositories tab towards the top of the screen when viewing your profile:
Step 3: Create A New Repository
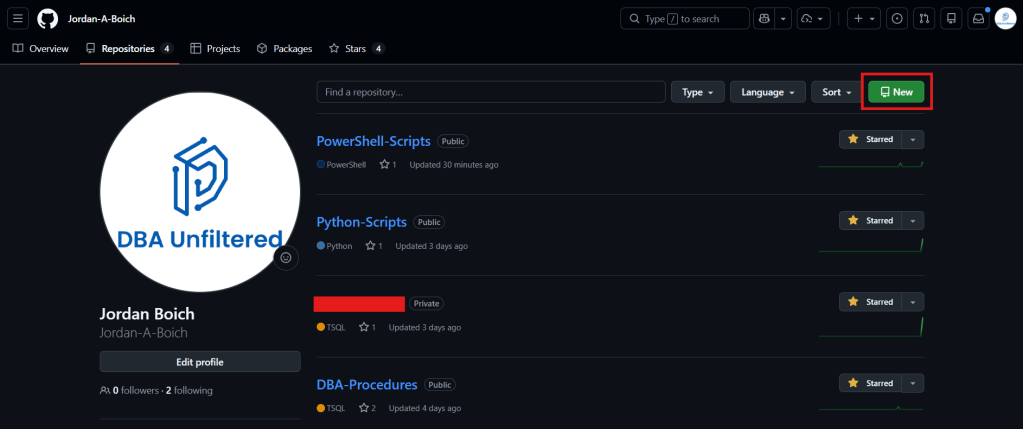
On the top right of the Repositories page, click the green button that says New:
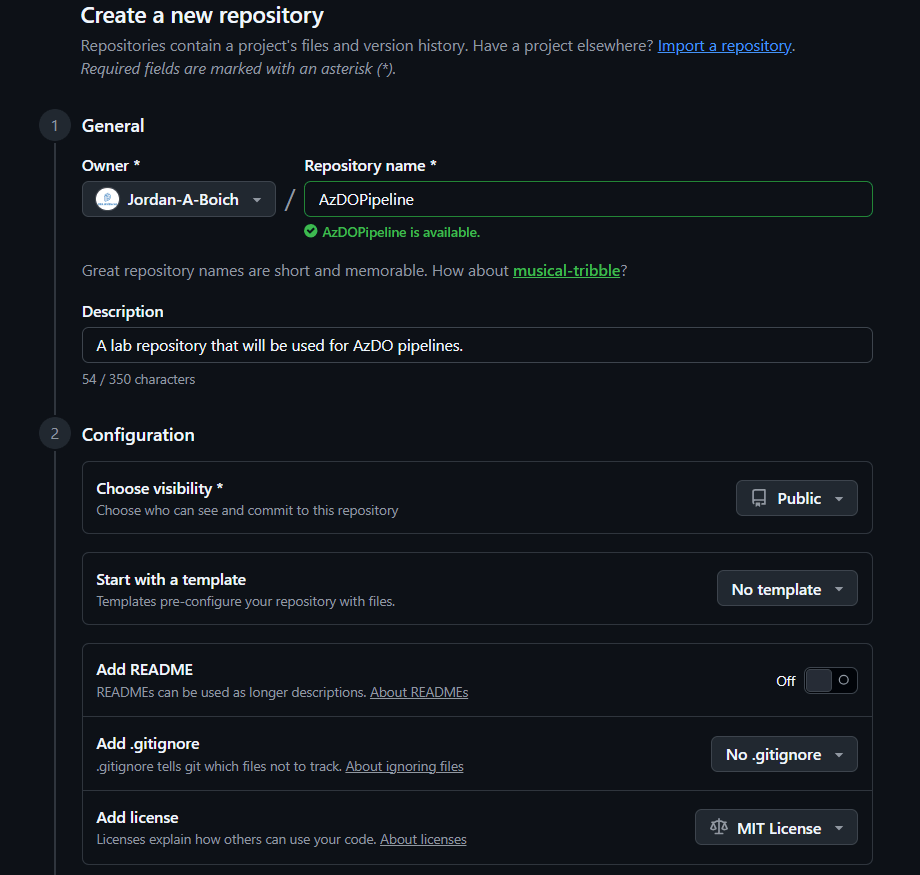
When on the page to create your repository, you can give it a name, select the owner, provide a description if you want, decide if you want to keep it public or private (I chose to keep public, but if you switch to private you’ll still be able to follow along with this series), and choose various templates if you so choose. For this tutorial, we’ll be leaving those alone. Here’s what mine looks like:
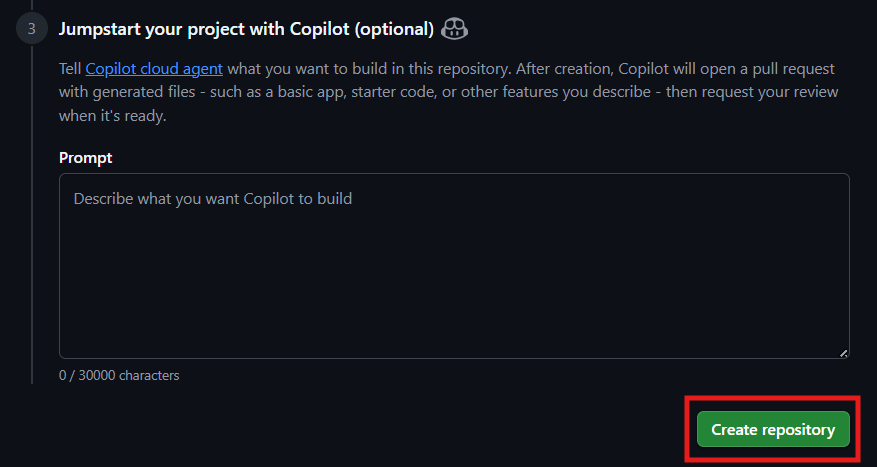
Hit the Create repository button at the bottom of the page:
When you’re all done, it should look something like this:
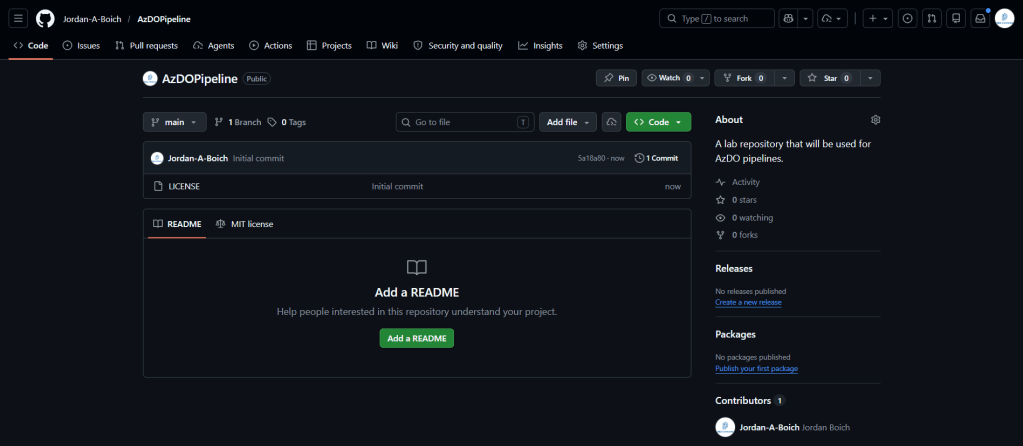
You’ll have a default branch called “main”. This is basically equivalent to “production”. This is the main branch where our AzDO pipeline will pull from when referencing scripts to execute. We’ll get more into branch creation later on when we start to get our hands dirty with creating our scripts. But for now, we should be good to move on and connect our GitHub repo to our AzDO project.
Connecting GitHub To AzDO
Next, we’re going to start setting up our initial plumbing. This is going to be a key component because when our pipeline build and release start referencing our scripts and files that live in our repo, this set up is going to make that possible.
Step 1: Navigate To Project Settings
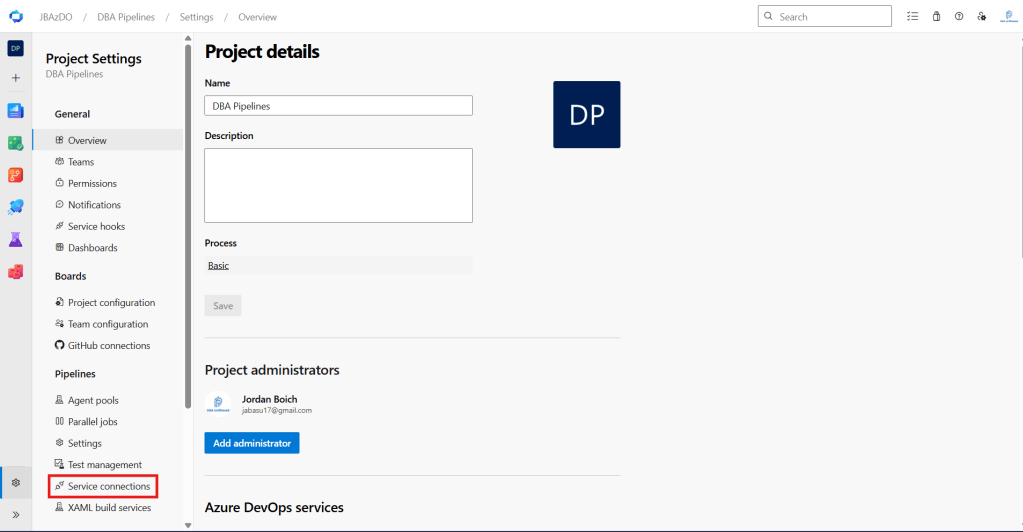
Go to your AzDO project that we created in the last post, and click on the Project settings tab located at the bottom left-hand side of the screen.

Once you click on that, it’ll take you to your project’s settings overview page.
Step 2: Click On Service Connections
From there, on the left, click Service connections. This is what is going to allow us to connect GitHub to AzDO:
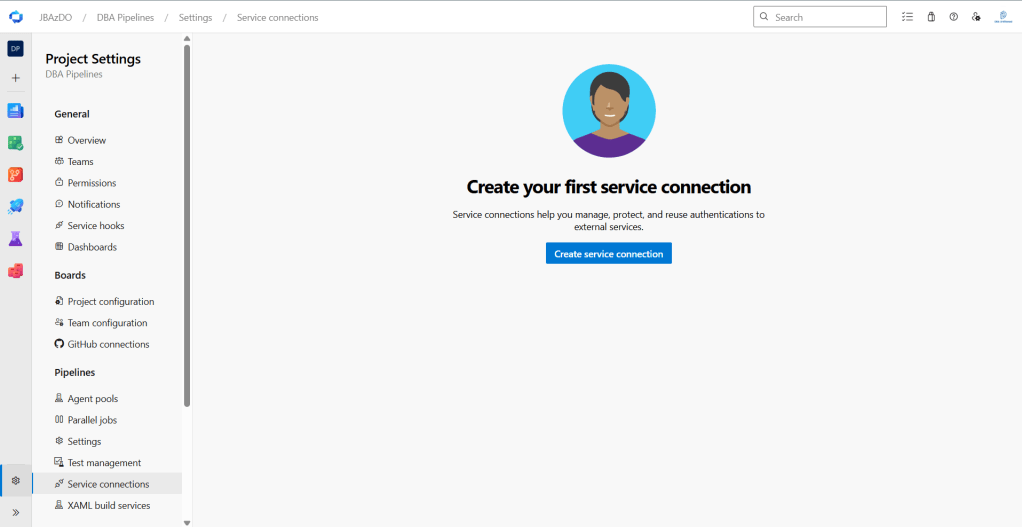
Step 3: Create A New Connection
Here, we’ll go through the process of creating a new connection to our GitHub repo. First thing you’re going to want to do is click on Create service connection:
Then, type “GitHub” in the search bar and make sure that the right GitHub icon is selected, then hit Next:
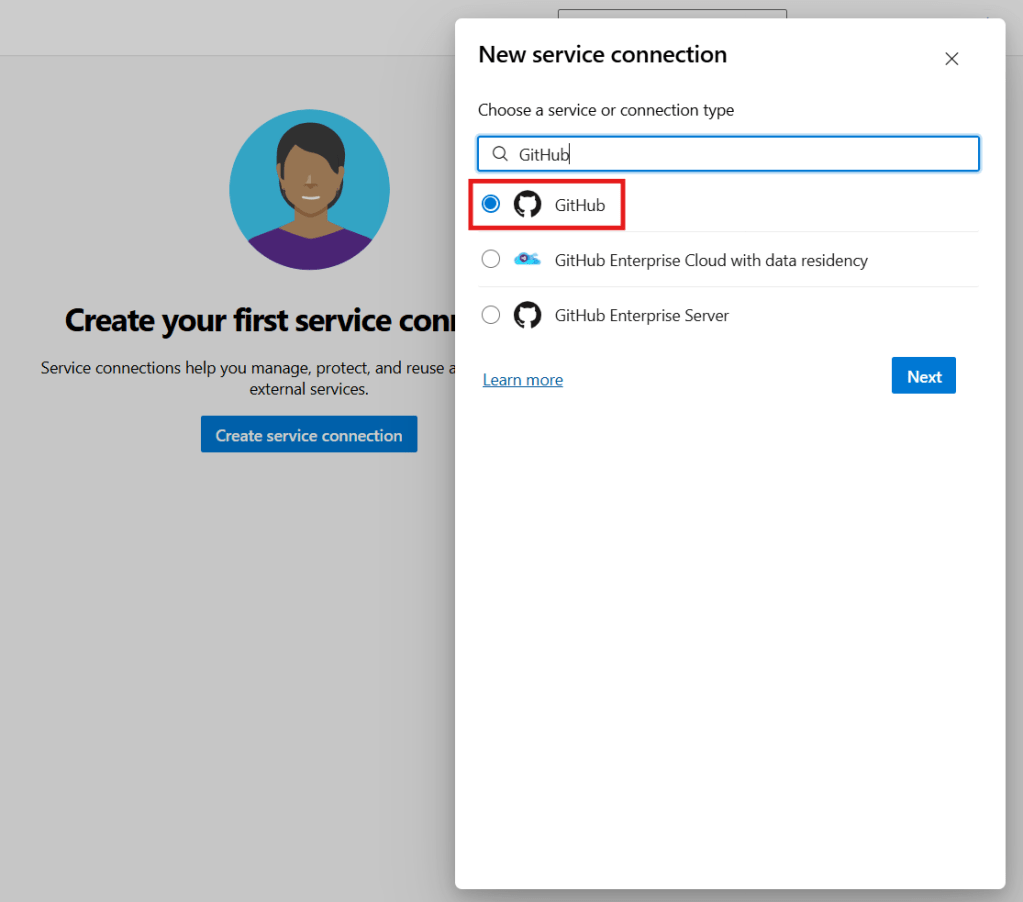
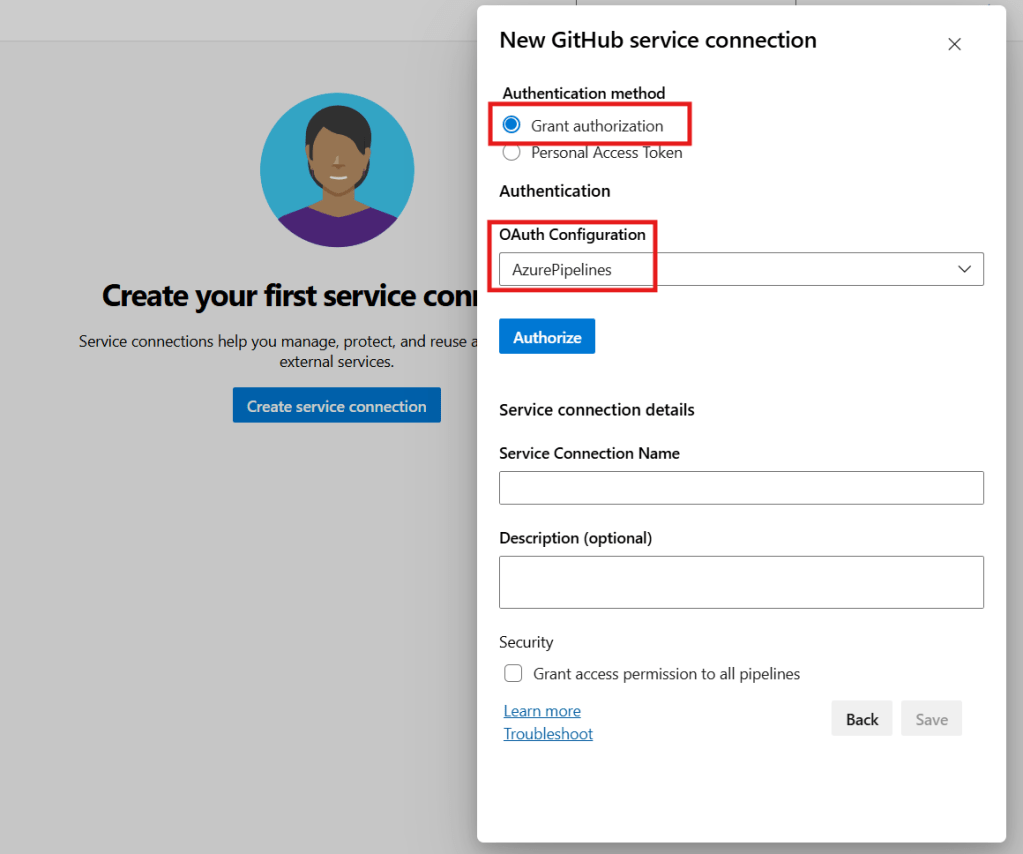
After that, we need to set up our authentication method. We can either choose Grant authorization, or Personal Access Token (PAT). Both are valid options, but for this tutorial, we are going to go with Grant authorization. It is more streamlined and the security is more abstracted and managed on Microsoft’s end.
Make sure Grant authorization is selected as well as AzurePipelines for the OAuth Configuration and click Authorize:
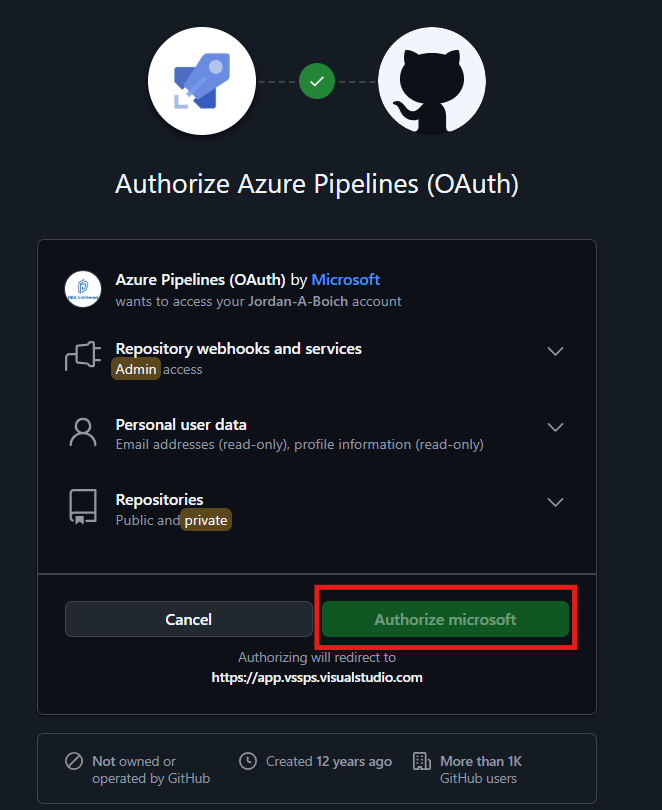
Leave everything as is in the authorization window, and click Authorize:
Then, your connection window should look similar to this:
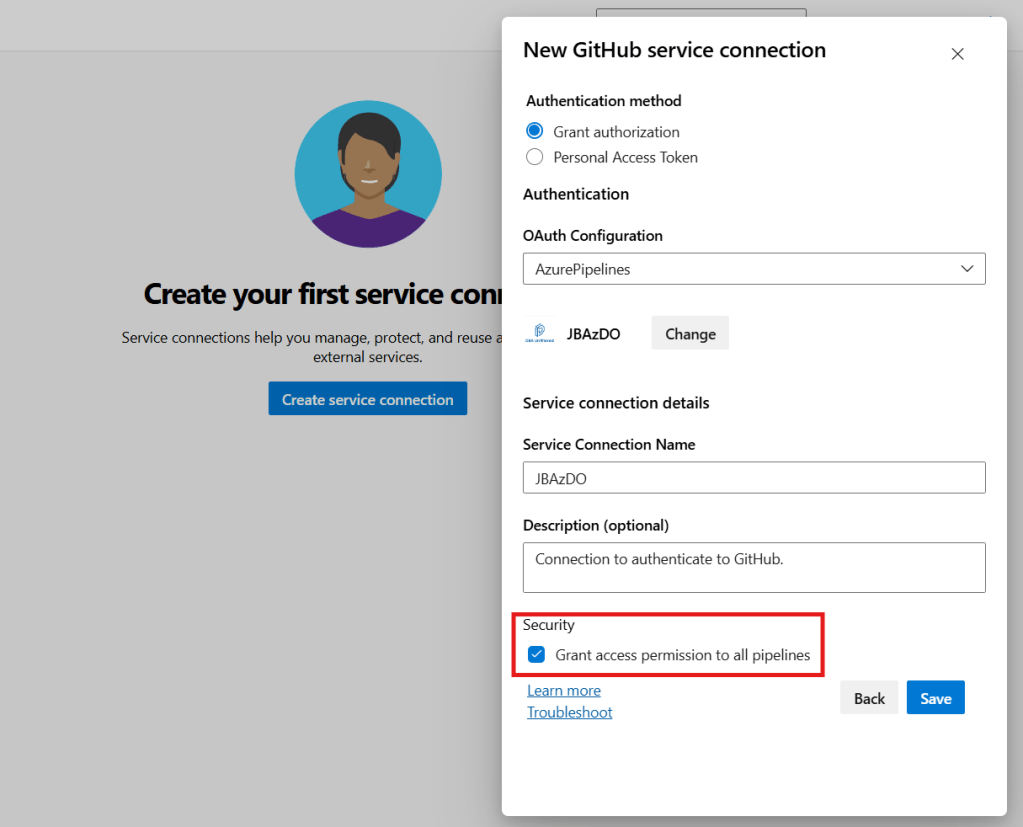
By default, it will give you a generated Service Connection Name, but I chose to change mine to something more readable which is the same name that I named my organization. I also chose to give it a brief description. Under the Security section I also chose to Grant access permission to all pipelines. That way any subsequent pipelines I create can leverage this connection to this repo if I want.
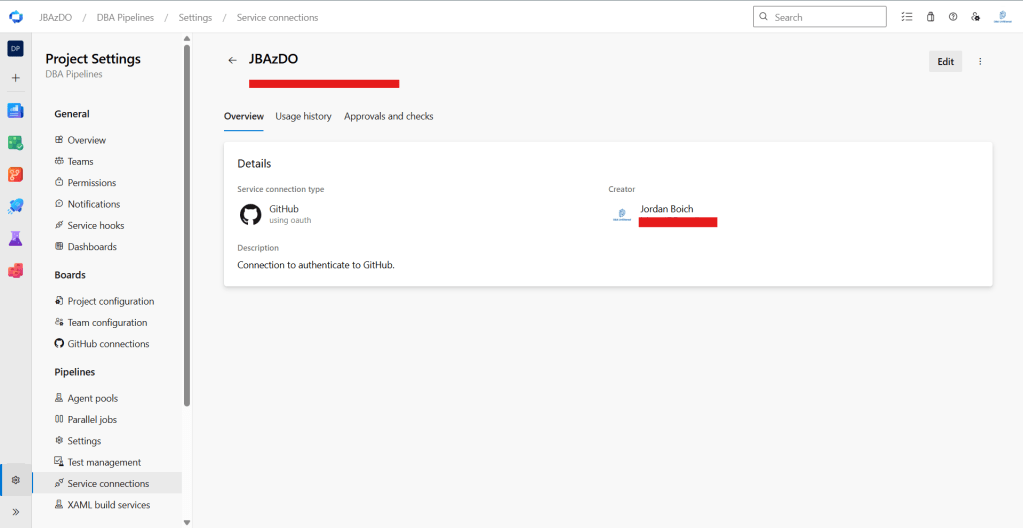
When you’re happy with your connection details, click Save. Under the Service connections section, you will now see your new connection object:
Summary
In this post we went through creating a GitHub repository and connecting it to our AzDO project so we can leverage it throughout our pipeline. In the next post, we will be setting up our SQL Server environment so when we build our pipeline, we can have something to point it at.

Leave a comment